Tag Archives: color space

Linear Color Transforms

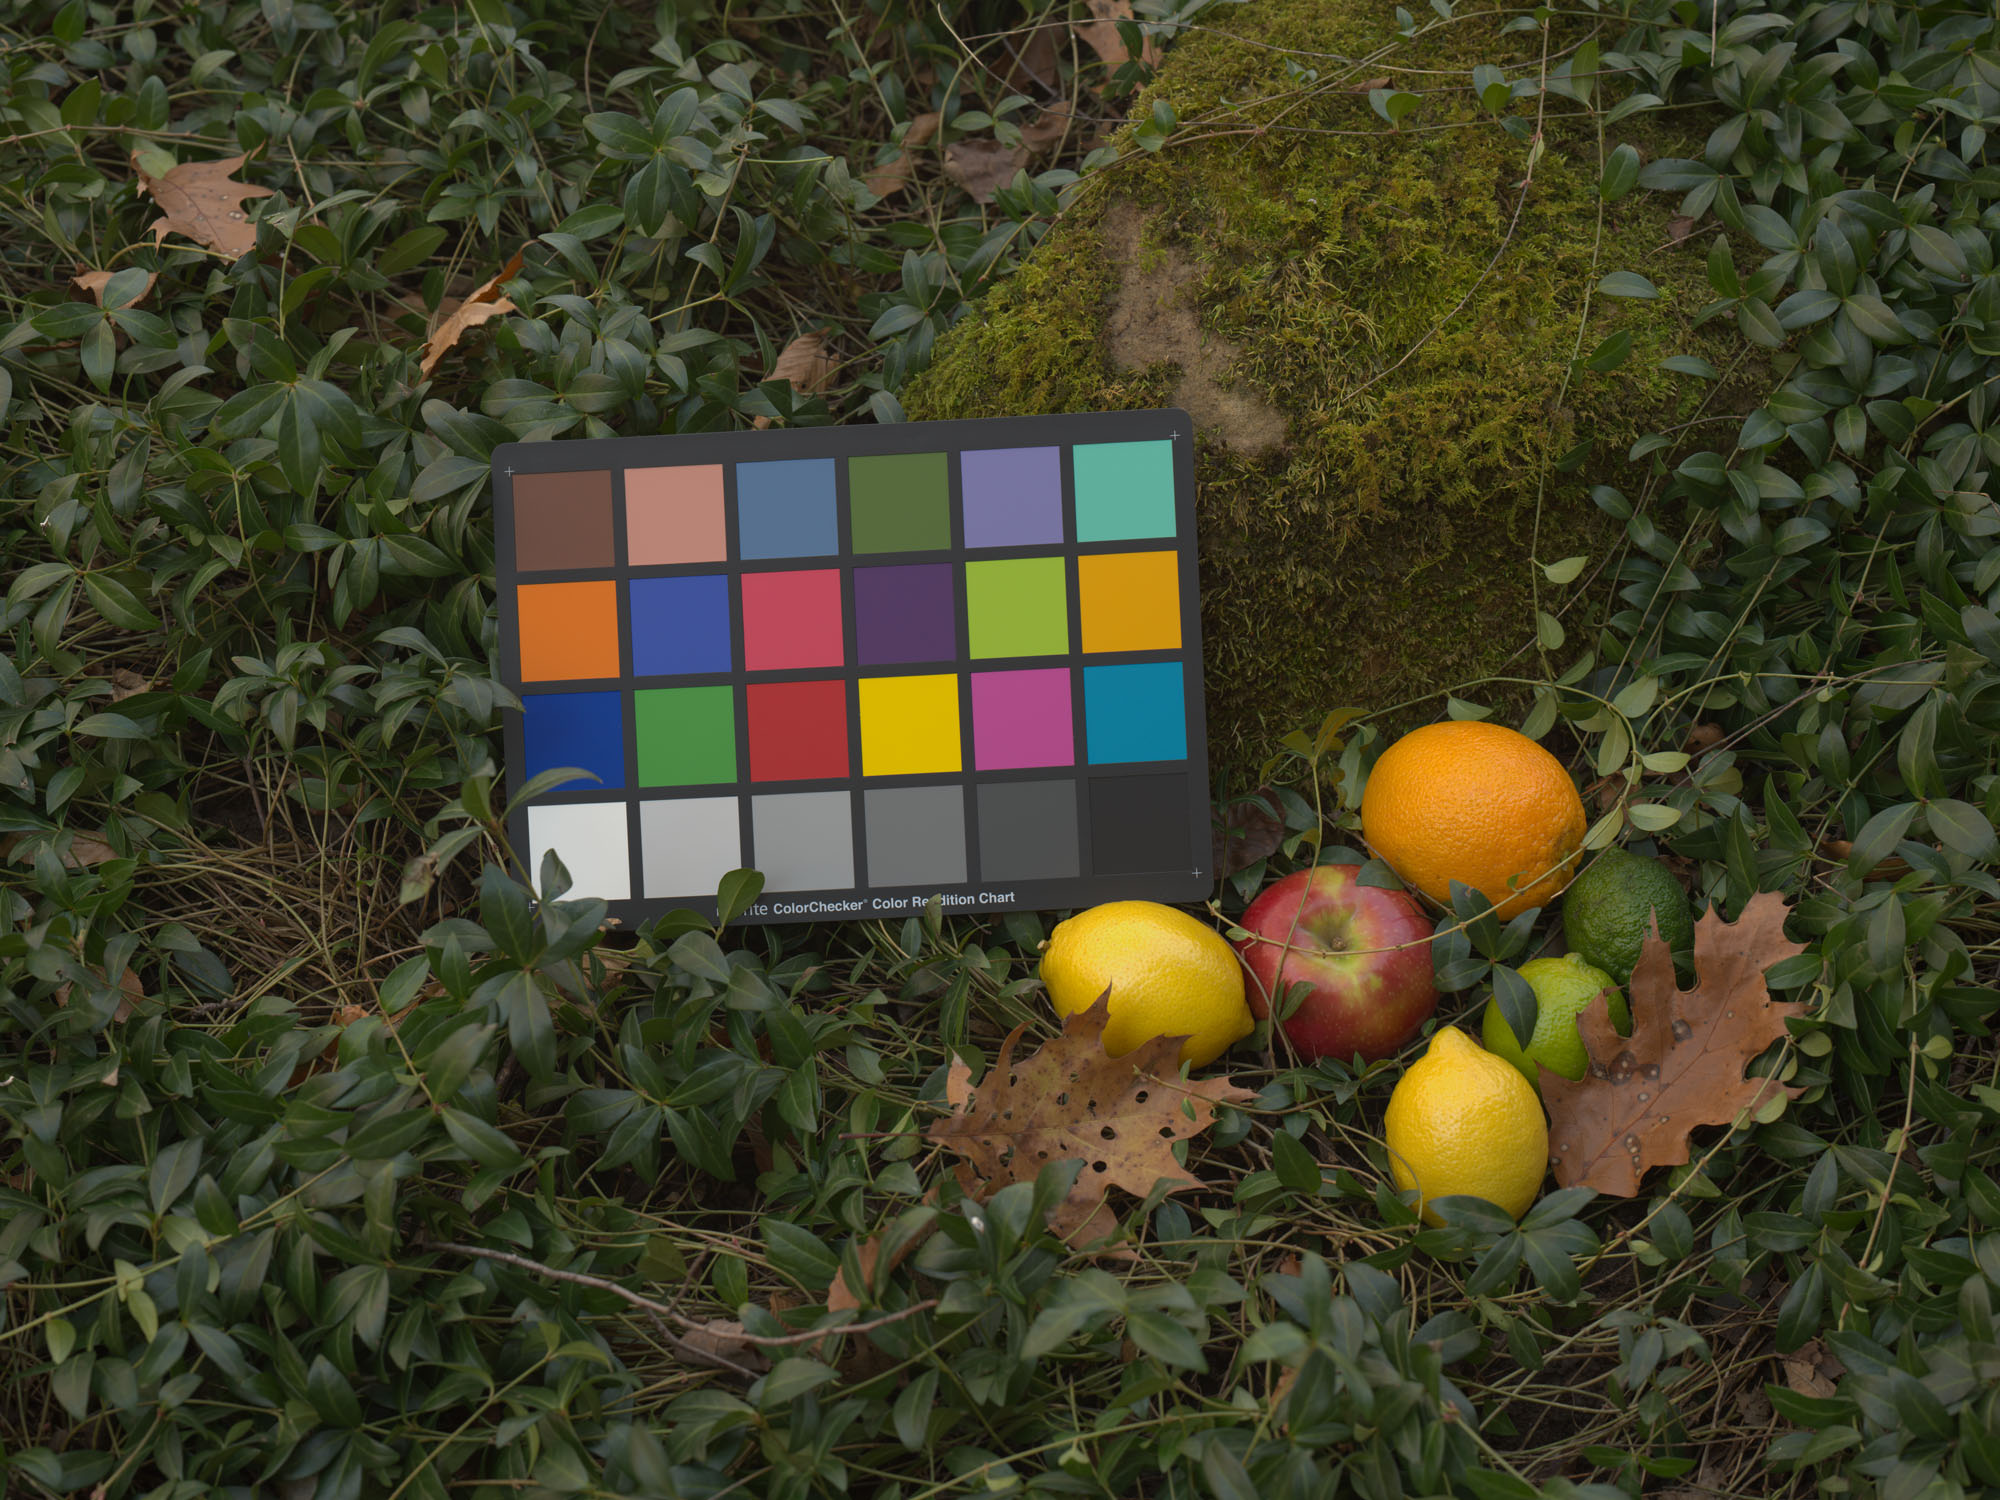
Building on a preceeding article of this series, once demosaiced raw data from a Bayer Color Filter Array sensor represents the captured image as a set of triplets, corresponding to the estimated light intensity at a given pixel under each of the three spectral filters part of the CFA.   The filters are band-pass and named for the representative peak wavelength that they let through, typically red, green, blue or r, g, b for short.

Since the resulting intensities are linearly independent they can form the basis of a 3D coordinate system, with each rgb triplet representing a point within it.  The system is bounded in the raw data by the extent of the Analog to Digital Converter, with all three channels spanning the same range, from Black Level with no light to clipping with maximum recordable light.  Therefore it can be thought to represent a space in the form of a cube – or better, a parallelepiped – with the origin at [0,0,0] and the opposite vertex at the clipping value in Data Numbers, expressed as [1,1,1] if we normalize all data by it.

Figure 1. The linear sRGB Cube, courtesy of Matlab toolbox Optprop.

The job of the color transform is to project demosaiced raw data rgb to a standard output RGB color space designed for viewing.   Such spaces have names like sRGB, Adobe RGB or Rec. 2020 .  The output space can also be shown in 3D as a parallelepiped with the origin at [0,0,0] with no light and the opposite vertex at [1,1,1] with maximum displayable light. Continue reading Linear Color Transforms

Cone Fundamentals & the LMS Color Space

In the last article we showed how a digital camera’s captured raw data is related to Color Science.  In my next trick I will show that CIE 2012 2 deg XYZ Color Matching Functions \bar{x}, \bar{y}, \bar{z} displayed in Figure 1 are an exact linear transform of Stockman & Sharpe (2000) 2 deg Cone Fundamentals \bar{\rho}, \bar{\gamma}, \bar{\beta} displayed in Figure 2

(1)   \begin{equation*} \left[ \begin{array}{c} \bar{x}} \\ \bar{y} \\ \bar{z} \end{array} \right] = M_{lx} * \left[ \begin{array} {c}\bar{\rho} \\ \bar{\gamma} \\ \bar{\beta} \end{array} \right] \end{equation*}

with CMFs and CFs in 3xN format, M_{lx} a 3×3 matrix and * matrix multiplication.  Et voilà:[1]

Figure 1.  Solid lines: CIE (2012) 2° XYZ “physiologically-relevant” Colour Matching Functions and photopic Luminous Efficiency Function (V) from cvrl.org, the Colour & Vision Research Laboratory at UCL.  Dotted lines: The Cone Fundamentals in Figure 2 after linear transformation by 3×3 matrix Mlx below.  Source: cvrl.org.

Continue reading Cone Fundamentals & the LMS Color Space

The Perfect Color Filter Array

We’ve seen how humans perceive color in daylight as a result of three types of photoreceptors in the retina called cones that absorb wavelengths of light from the scene with different sensitivities to the arriving spectrum.

Figure 1.  Quantitative Color Science.

A photographic digital imager attempts to mimic the workings of cones in the retina by usually having different color filters arranged in an array (CFA) on top of its photoreceptors, which we normally call pixels.  In a Bayer CFA configuration there are three filters named for the predominant wavelengths that each lets through (red, green and blue) arranged in quartets such as shown below:

Figure 2.  Bayer Color Filter Array: RGGB  layout.  Image under license from Cburnett, pixels shifted and text added.

A CFA is just one way to copy the action of cones:  Foveon for instance lets the sensing material itself perform the spectral separation.  It is the quality of the combined spectral filtering part of the imaging system (lenses, UV/IR, CFA, sensing material etc.) that determines how accurately a digital camera is able to capture color information from the scene.  So what are the characteristics of better systems and can perfection be achieved?  In this article I will pick up the discussion where it was last left off and, ignoring noise for now, attempt to answer this  question using CIE conventions, in the process gaining insight in the role of the compromise color matrix and developing a method to visualize its effects.[1]  Continue reading The Perfect Color Filter Array

Phase One IQ3 100MP Trichromatic vs Standard Back Linear Color, Part II

We have seen in the last post that Phase One apparently performed a couple of main tweaks to the Color Filter Array of its Medium Format IQ3 100MP back when it introduced the Trichromatic:  it made the shapes of color filter sensitivities more symmetric by eliminating residual transmittance away from the peaks; and it boosted the peak sensitivity of the red (and possibly blue) filter.  It did this with the objective of obtaining more accurate, less noisy color out of the hardware, requiring less processing and weaker purple fringing to boot.

Both changes carry the compromises discussed in the last article so the purpose of this one and the one that follows is to attempt to measure – within the limits of my tests, procedures and understanding[1] – the effect of the CFA changes from similar raw captures by the IQ3 100MP Standard Back and Trichromatic, courtesy of David Chew.  We will concentrate on color accuracy, leaving purple fringing for another time.

Figure 1. Phase One IQ3 100MP image rendered linearly via a dedicated color matrix from raw data without any additional processing whatsoever: no color corrections, no tone curve, no sharpening, no nothing. Brightness adjusted to just avoid clipping.  Capture by David Chew.

Continue reading Phase One IQ3 100MP Trichromatic vs Standard Back Linear Color, Part II

Bayer CFA Effect on Sharpness

In this article we shall find that the effect of a Bayer CFA on the spatial frequencies and hence the ‘sharpness’ information captured by a sensor compared to those from the corresponding monochrome version can go from (almost) nothing to halving the potentially unaliased range – based on the chrominance content of the image and the direction in which the spatial frequencies are being stressed. Continue reading Bayer CFA Effect on Sharpness

How Is a Raw Image Rendered?

What are the basic low level steps involved in raw file conversion?  In this article I will discuss what happens under the hood of digital camera raw converters in order to turn raw file data into a viewable image, a process sometimes referred to as ‘rendering’.  We will use the following raw capture by a Nikon D610 to show how image information is transformed at every step along the way:

Nikon D610 with AF-S 24-120mm f/4 lens at 24mm f/8 ISO100, minimally rendered from raw as outlined in the article.
Figure 1. Nikon D610 with AF-S 24-120mm f/4 lens at 24mm f/8 ISO100, minimally rendered from raw by Octave/Matlab following the steps outlined in the article.

Rendering = Raw Conversion + Editing

Continue reading How Is a Raw Image Rendered?